Studio / Process
Soft clay to fired form
Handbuilding is a sequence. Skipping a step rarely saves time; it usually shows up as a crack after the kiln cools.
We teach process as clearly as technique. Cyprus humidity slows drying, so wrapping strategy matters as much as the coil itself. Below is the path most workshop pieces follow from the bag to the shelf.
- 1 · Wedge — remove air, align particles, and feel moisture before you cut a slab or start a coil.
- 2 · Build — pinch, coil, or slab with even walls; score and slip every join; compress seams from both sides.
- 3 · Leather-hard refine — trim, paddle, and add attachments while clay can still accept pressure without collapsing.
- 4 · Dry — slow under plastic, then open gradually until bone dry. Rushing here is the most common failure.
- 5 · Bisque — first fire to open pores and lock the form for safer handling.
- 6 · Surface & glaze fire — oxides, engobes, or glaze applied with sculpture in mind, then a second carefully loaded firing.
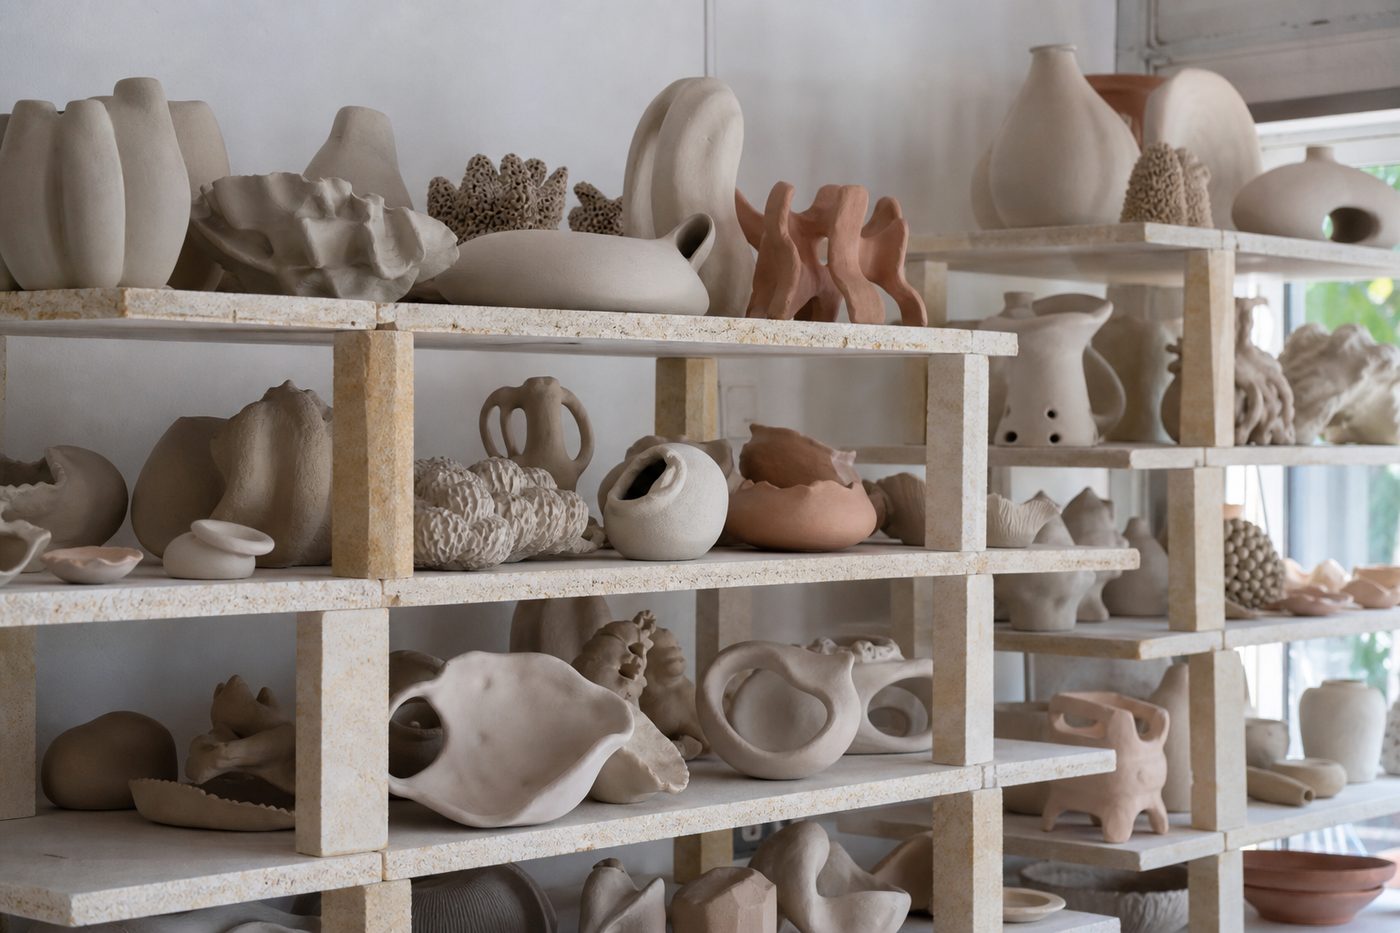
Want to see finished results? Visit the gallery. Questions about materials live on clays & tools. To join a session, write to the studio.